
The ‘Support Plan’ module records the support requirements of a client. It is divided into four tabs:
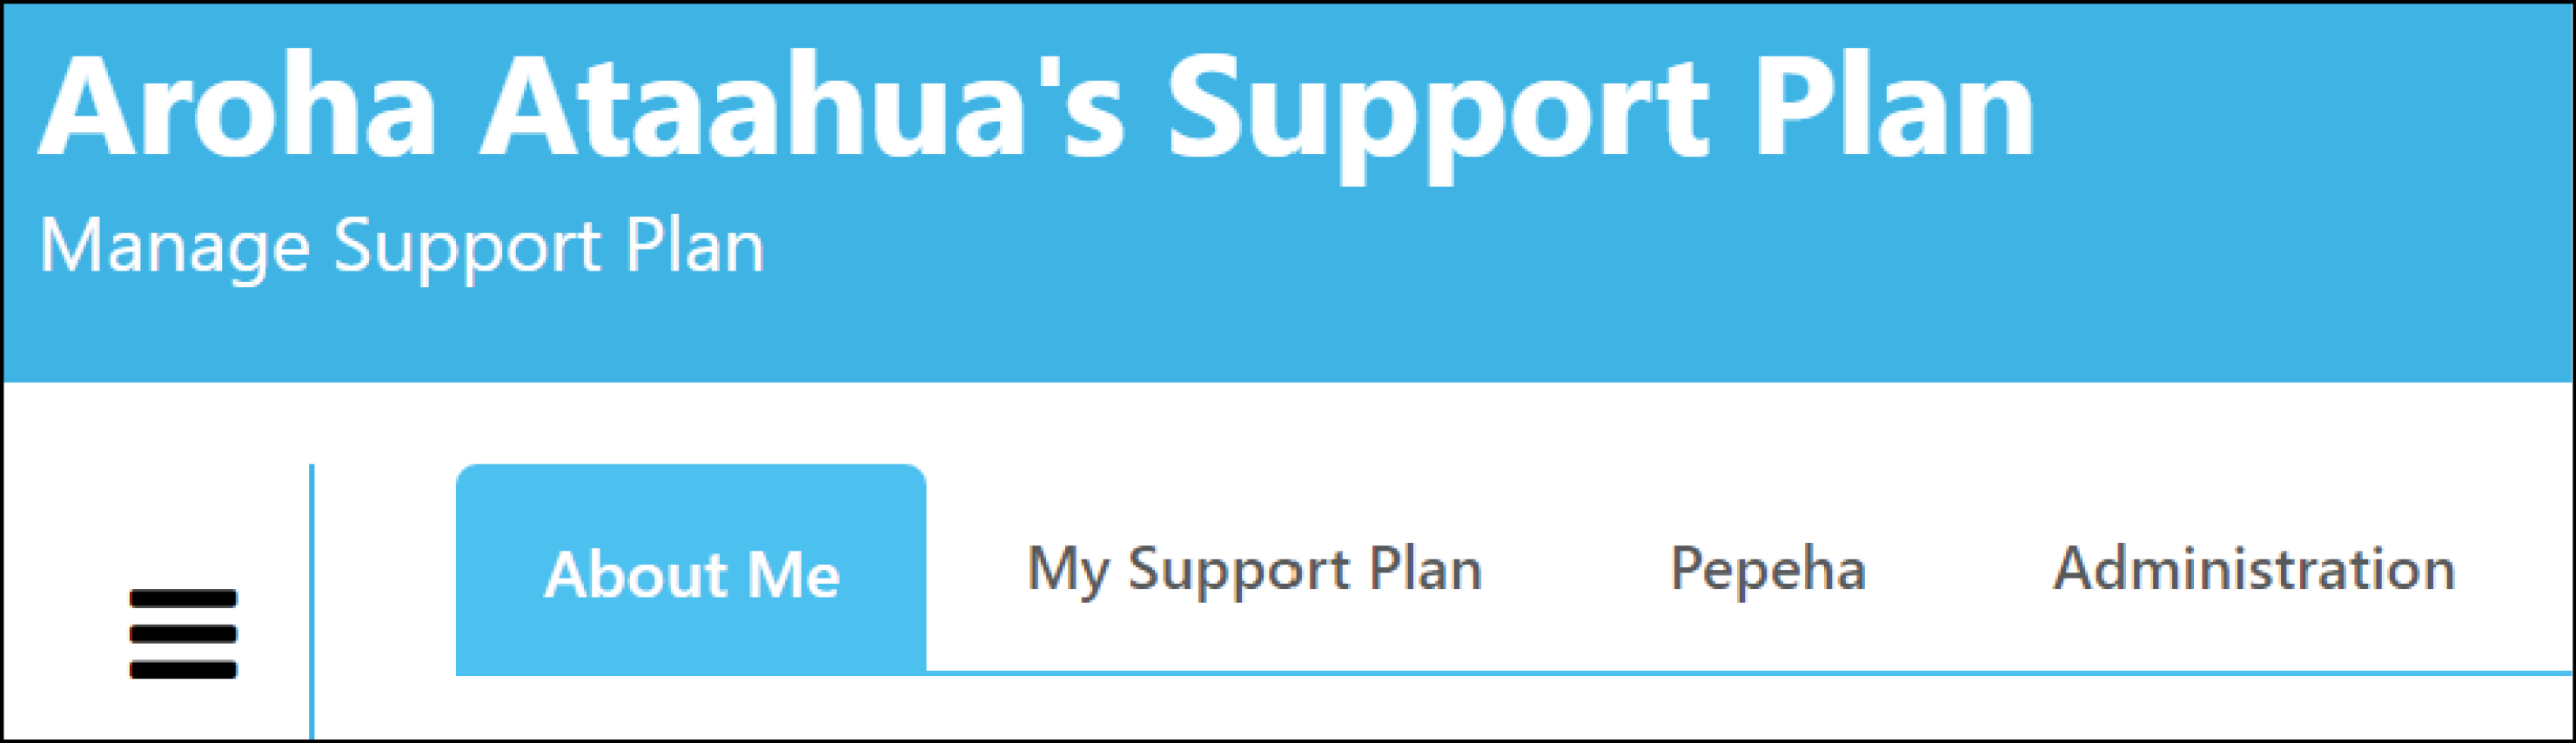
- About Me Staff can create a health profile for a client
- My Support Plan Records client’s specific support requirements based on their Physical health, Mental health, Spiritual health and Community Support. Now supports drag-dop images functionality
- Pepeha In Māori culture, a "pepeha" is a way of introducing oneself and one's ancestry. This tab gives your client's the space to share their connections with the people and places that are important to them
- Documents Store documents related to the Support plan of your client
- Administration This tab gives you the ability to make customised changes to the Support Plan's sections as per the organisation’s requirements
About Me
This tab records client’s background details such as their Personal/Family history, Service-related history and any Likes/Dislikes.
The ‘Warning sign and alerts’ section helps in recording any health conditions such as Allergies, Hazards, Risks and Early Waning Signs of Physical and Mental Unwellness.
To add or edit information in either the My Background or Warning Signs & Alerts sections, click on Edit, enter the information, then select Save. Click Close Editor to exit out of Edit mode.
The Print button compiles the Support Plan in a PDF booklet that can be shared with Family/Whānau.
My Support Plan
In the My Support Plan tab, staff can record client’s specific support requirements. This tab is categorised under four different sections:
Physical Health, Mental Health, Spiritual Health and Community Support.
The Physical Health section keeps track of client’s physical health and wellbeing requirements, such as Personal Care Related Support, Physical Health/Medical Support, Mobility support, Household support.
Similarly:
- Mental Health section records client support requirements for Decision making, Psychological/Behavioural support, Safety & Risk Assessment;
- Spiritual Health section records support requirements for their Cultural, Religious and Spiritual beliefs; and
- Community Support section records support requirements for Social, Vocational, Educational and Leisure support.
To add information into a section select Edit.
You can change the text to be Bold, Scored Through, Underlined, Linked, Bullet Points, Text Colour or Highlighted, then select Save. Click Close Editor to exit out of Edit mode.
To add an entry into the Personal Care Related Support area. Click on Add+, select a Support Area from the drop-down list, tick the appropriate Support Type, enter a comment/instructions, then select Save.
Your entry will now be available in the personal care related support list.
The Print button compiles the Support Plan in a PDF booklet that can be shared with Family/Whānau.
Drag and Drop Images
To drag and drop images into a clients Support Plan, select Edit on the section you would like to add an image to. Then drag the image from where it is saved on your computer and drop it in place.
View the video below to see how to works.
Pepeha
The Pepeha tab follows a very similar approach to adding/editing new and existing entries.
For a new entry: Select Add+, the select the pepeha from the drop-down list, type in the Self, Toku Matua and Toku Whaea where required. Click Save.
To edit, select one of the existing entries and click Edit. Make the changes, then select Save.
The Print button compiles the Support Plan in a PDF booklet that can be shared with Family/Whānau.
Documents
The Documents tab allows you to upload and download documents related to the Support Plan of your client.
1 - Documents tab
2 - Upload Document, click here to upload a file
3 - Previously uploaded files are located here. Depending on the file type, you can double click on a document to open a preview. Or it will download the file.
| Please Note: If this message box opens when you double click on a document, click 'Open this file in a new window.' |
To Upload a document, click on Upload Document. , then Attach File (2).
This will open the window to select the document from. Find and select your Document (3), then click Open (4).
Once you have selected your document, it will be Ready to upload (1). You can add a comment (2) that is displayed next to the file name in the Document Library. Then click Save (3).
You can now see below, our Document (Doc1) has now been added to the 'library'.
Clicking on the downward arrow icon will download a copy of the document. You will find it saved to the Downloads folder on your computer.
Clicking on the three dots & arrow on the right hand side of you document will open the dropdown menu.
Here you can Rename the document, Edit the comments and Delete.
To Rename - Click Rename (1), Enter the new File name and Save (2).
The document will now have a new name (3).
Editing the comments is the same process. Click Edit Comments - Change the text - click Save.
Clicking Delete will open a confirmation box. Click Yes and your document will be deleted. No, will cancel the deletion.
The security settings for the Documents section is located in Administration - Security - Manage Permissions - Client Support Plan tab.
Find out more details here.
Administration
In the Administration tab, you are able to change/edit some of the Support Areas. The steps below apply to all sections within the Administration tab.
In the example below you can see that within the Administration tab, the Physical Health section correlates to the Physical Health section in the My Support Plan tab.
When you open the Physical Health drop down box in the My Support Plan tab, you can see the support areas that are able to to added/edited from within the Administration tab.
To Add a new entry - In the Administration tab within the section you want a new support area entry.
Click Add+, enter the name of the Support Area, click Save.
To Edit or Delete, simply select the name of the Support Area, click edit/delete.
You can also Archive an entry, rather than deleting it. This will enable you to Restore it if you change your mind later. In the example below we have a previously Archived entry. Clicking Restore will enable the entry to be used again.