
To access the Scheduler
Select Reports on the Menu bar (where is the menu?).

Click on Staff Reports on the sub menu bar (what is submenu bar?).

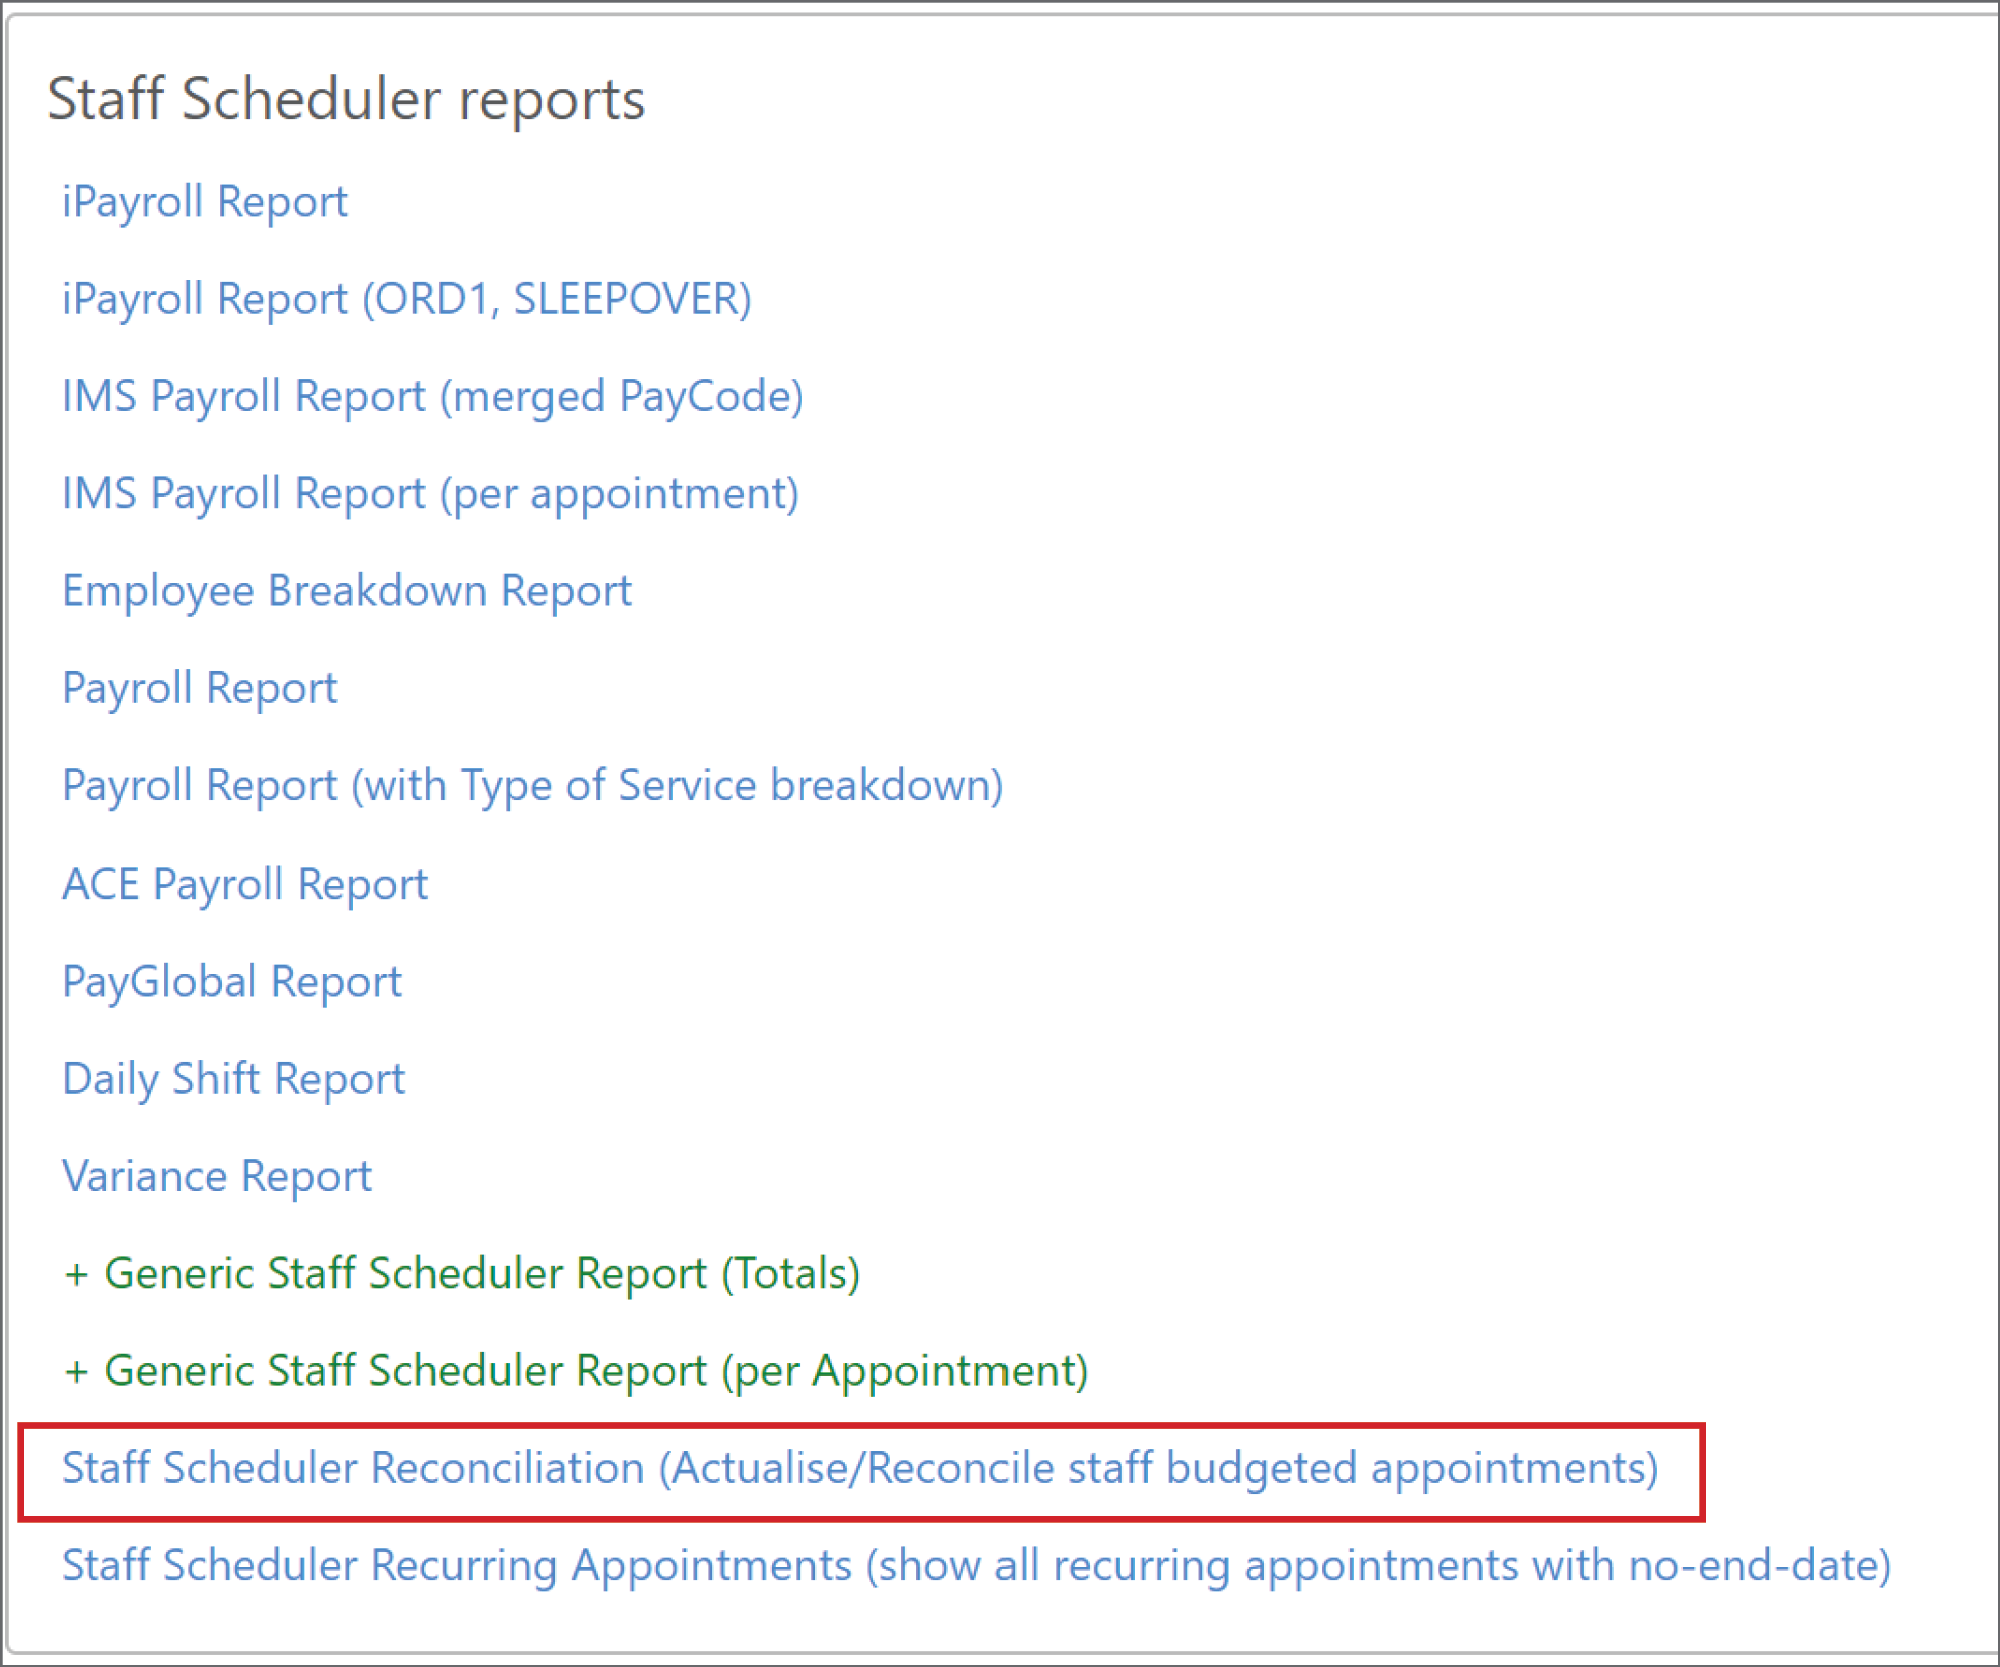
In Staff Reports, scroll down until you get to Staff Scheduler reports then click on Staff Scheduler Reconciliation.
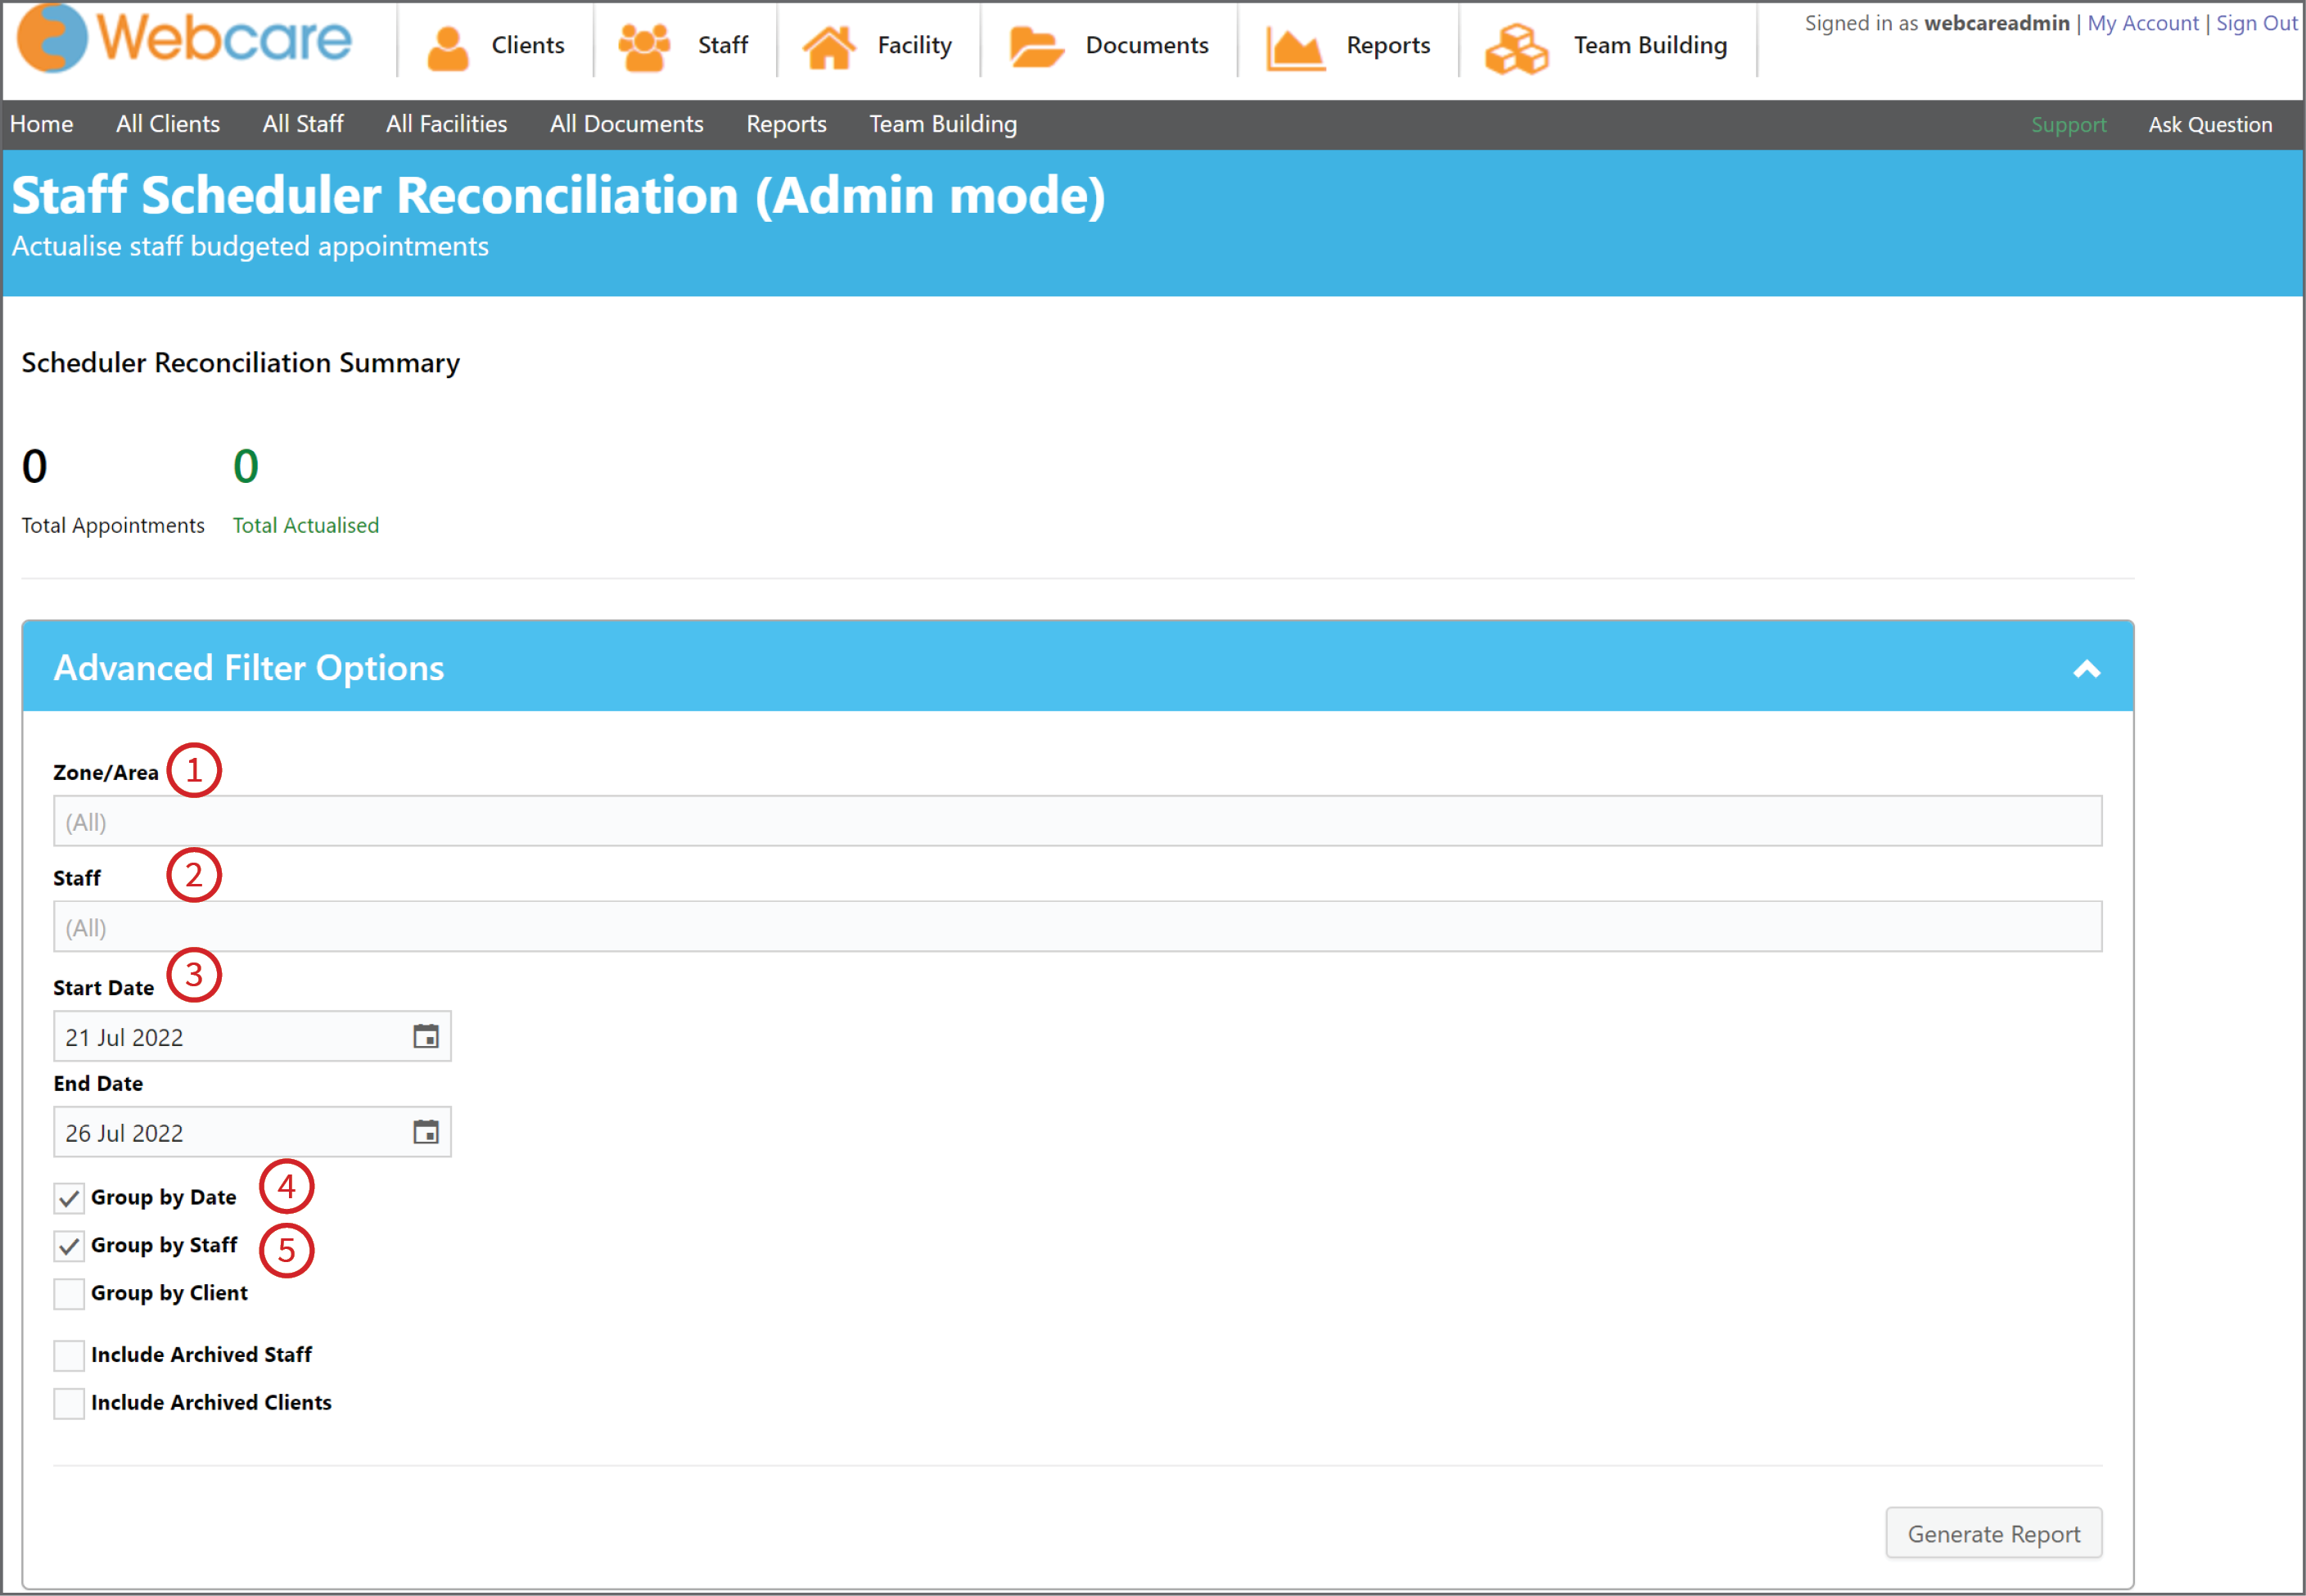
Once you have selected Staff Scheduler Reconciliation, this will display filtering options. Select the Zone/Area (1), Staff (2), then the Start and End dates (3).
You can choose how to group the report by Date (4) and/or Staff (5).
Here you can also choose to include archived staff and archived clients.
Once you have the Filter options completed, select Generate Report.
Once you have selected Generated the report, Webcare will load all of the shifts within the filtering perimeters which you have defined. You will know it has worked when you see a screen like this:
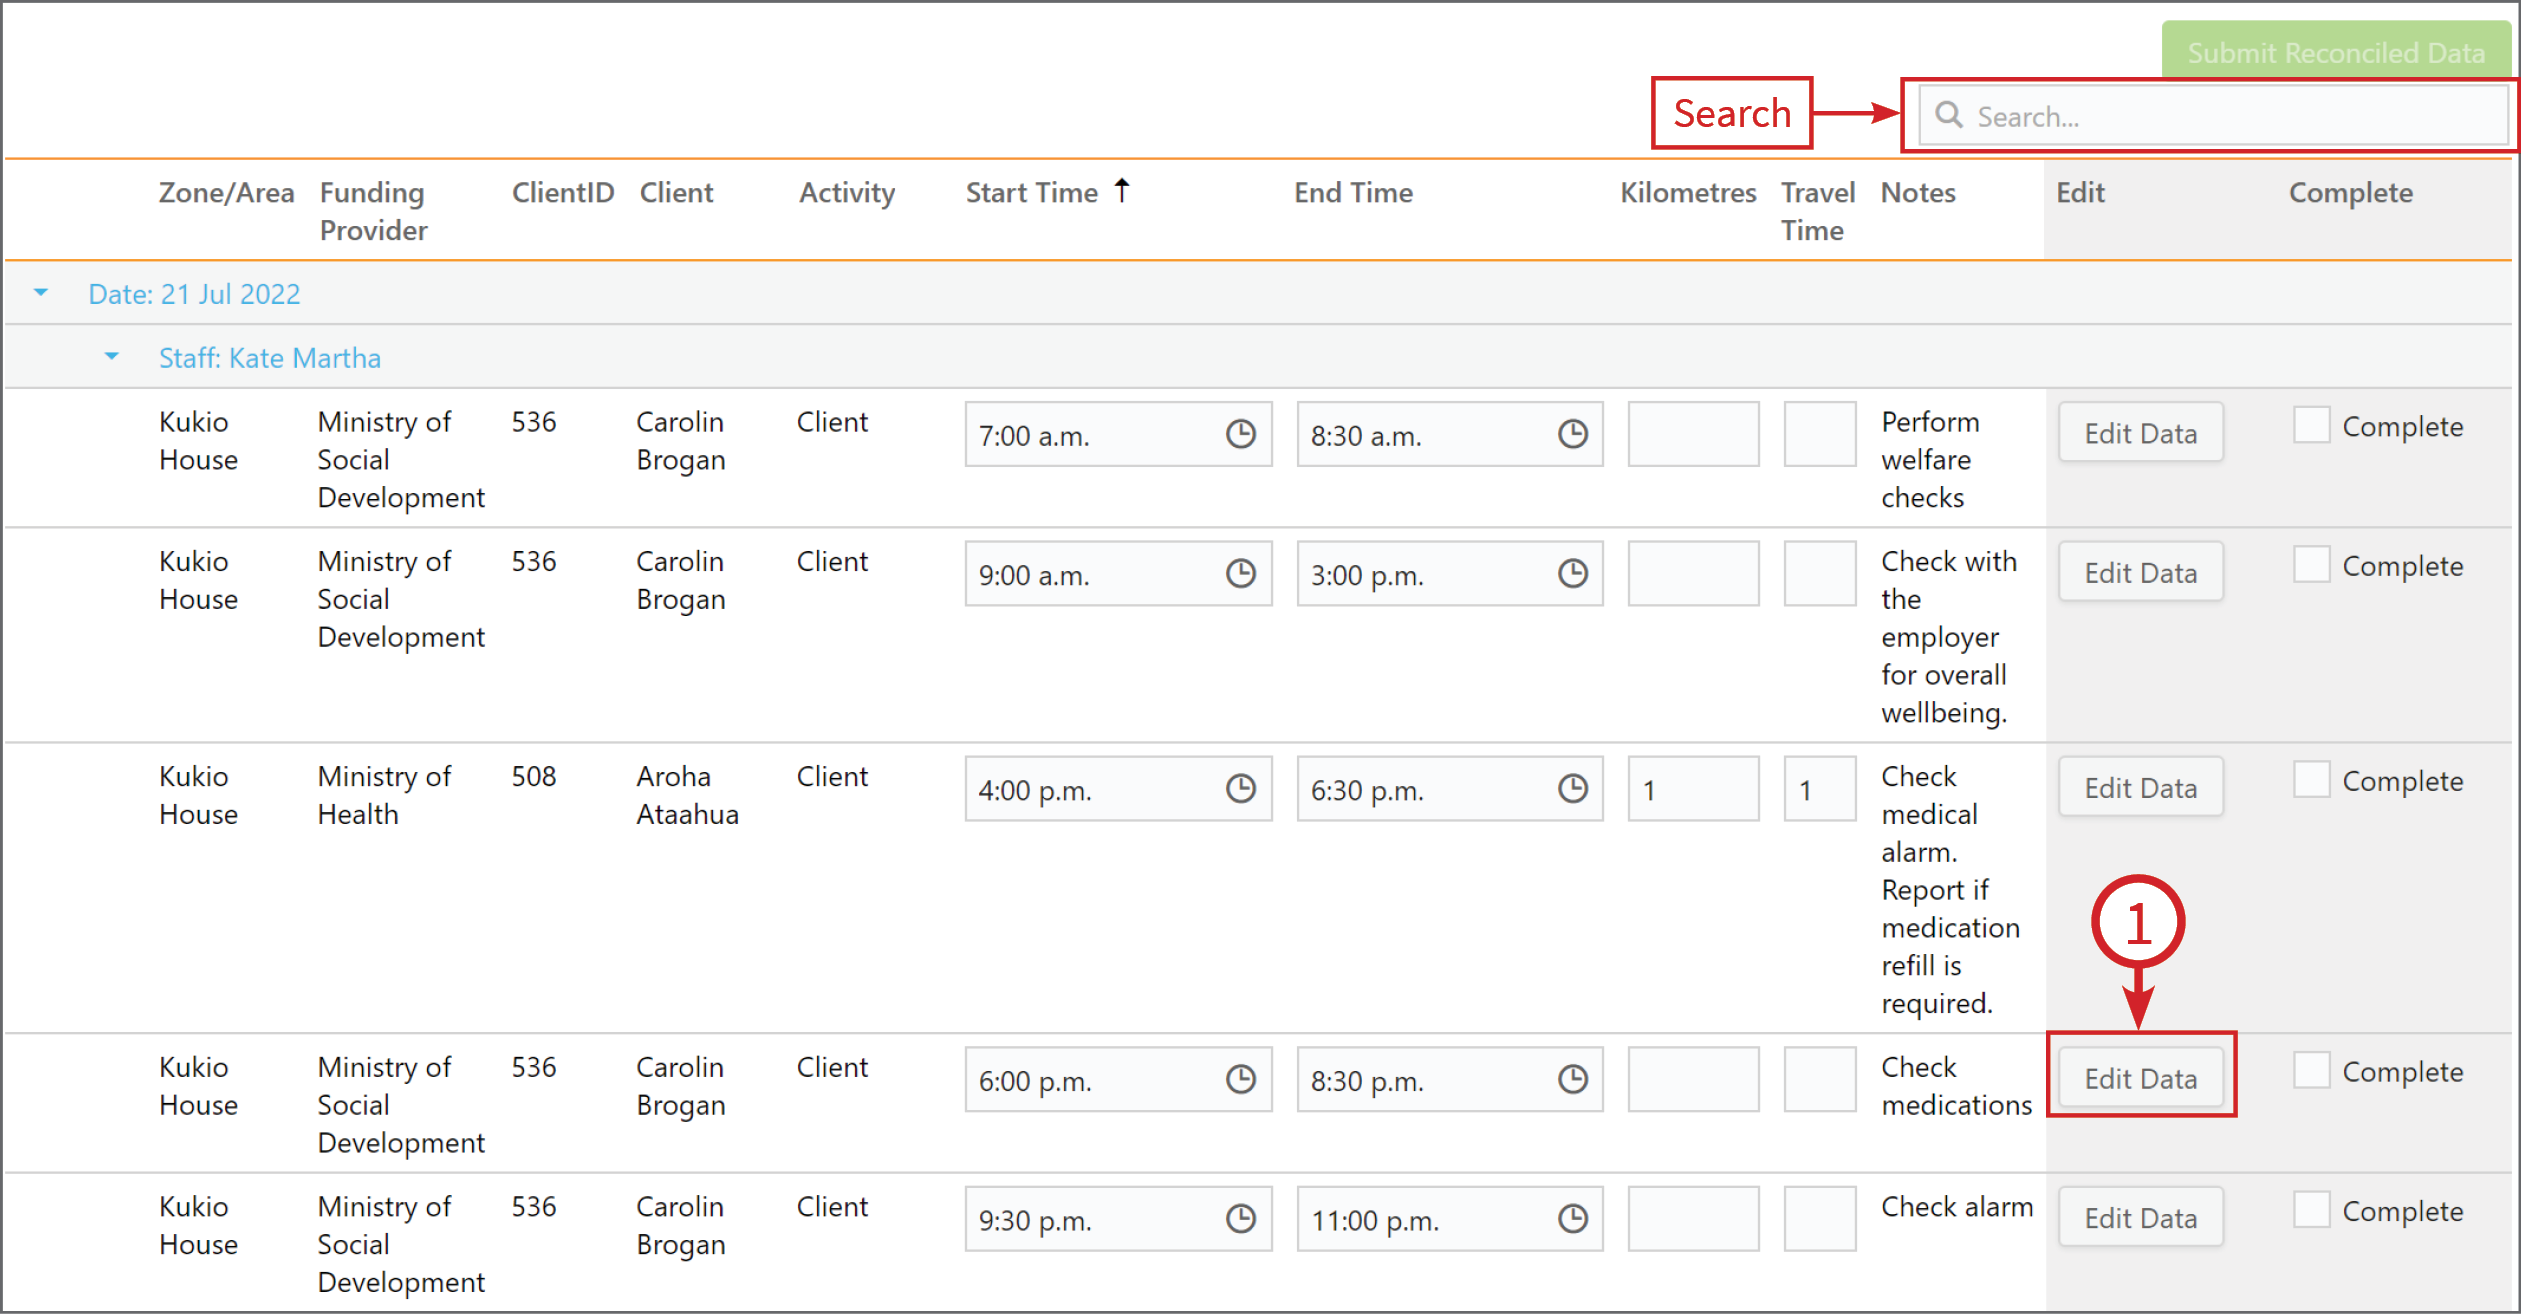
Once the Scheduler has finished loading you can then search for a specific client, edit data, sign off shifts and submit time sheets.
To change the information in a staff members shift , click on Edit Data (1) then edit the information.
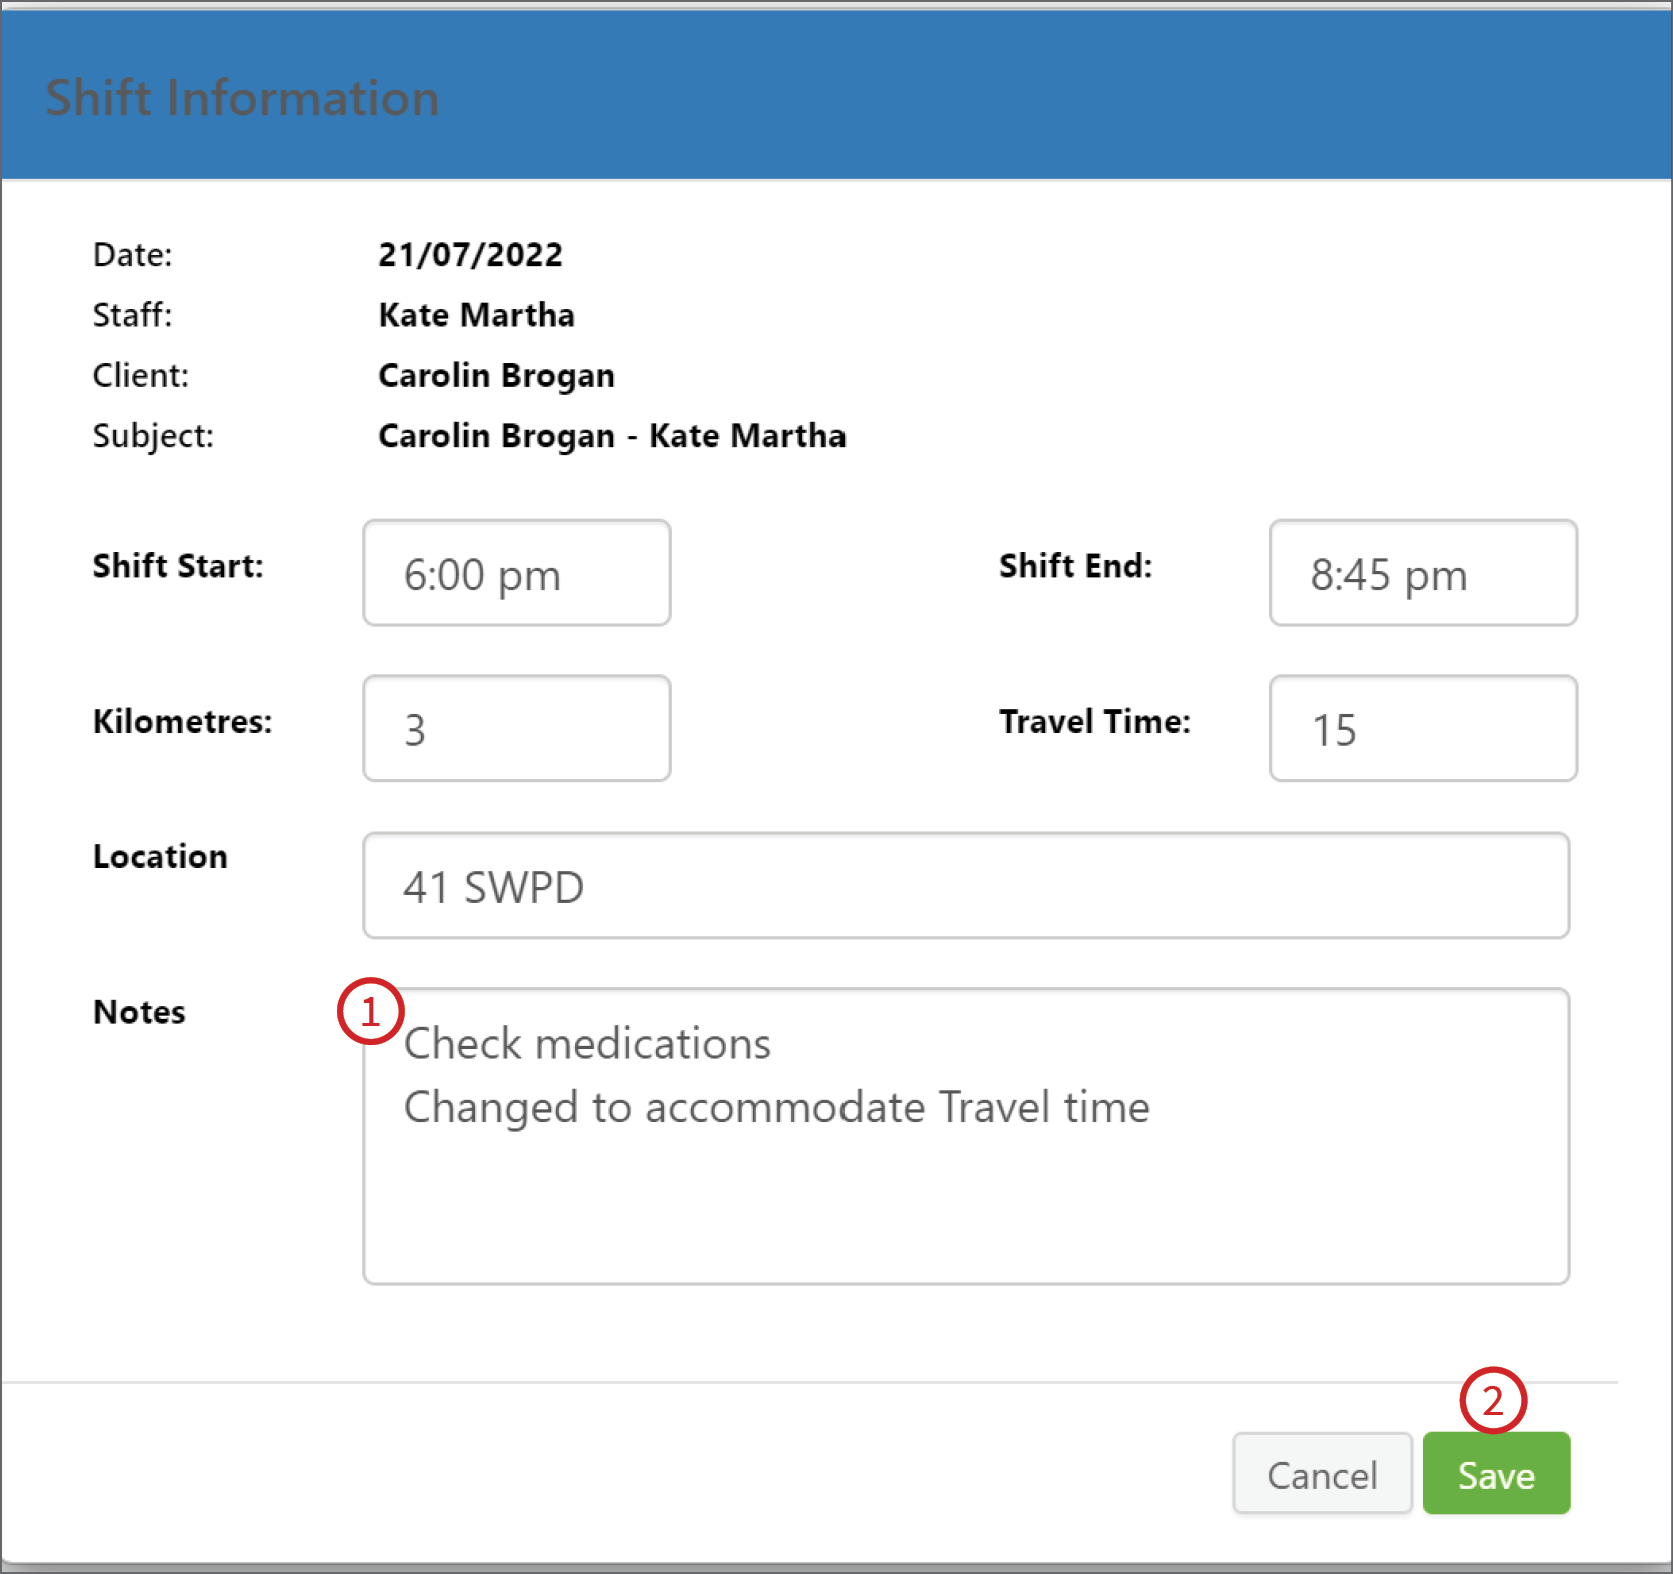
Edit the Shift Information, adding Notes (1) as to why it was changed, then select Save (2)
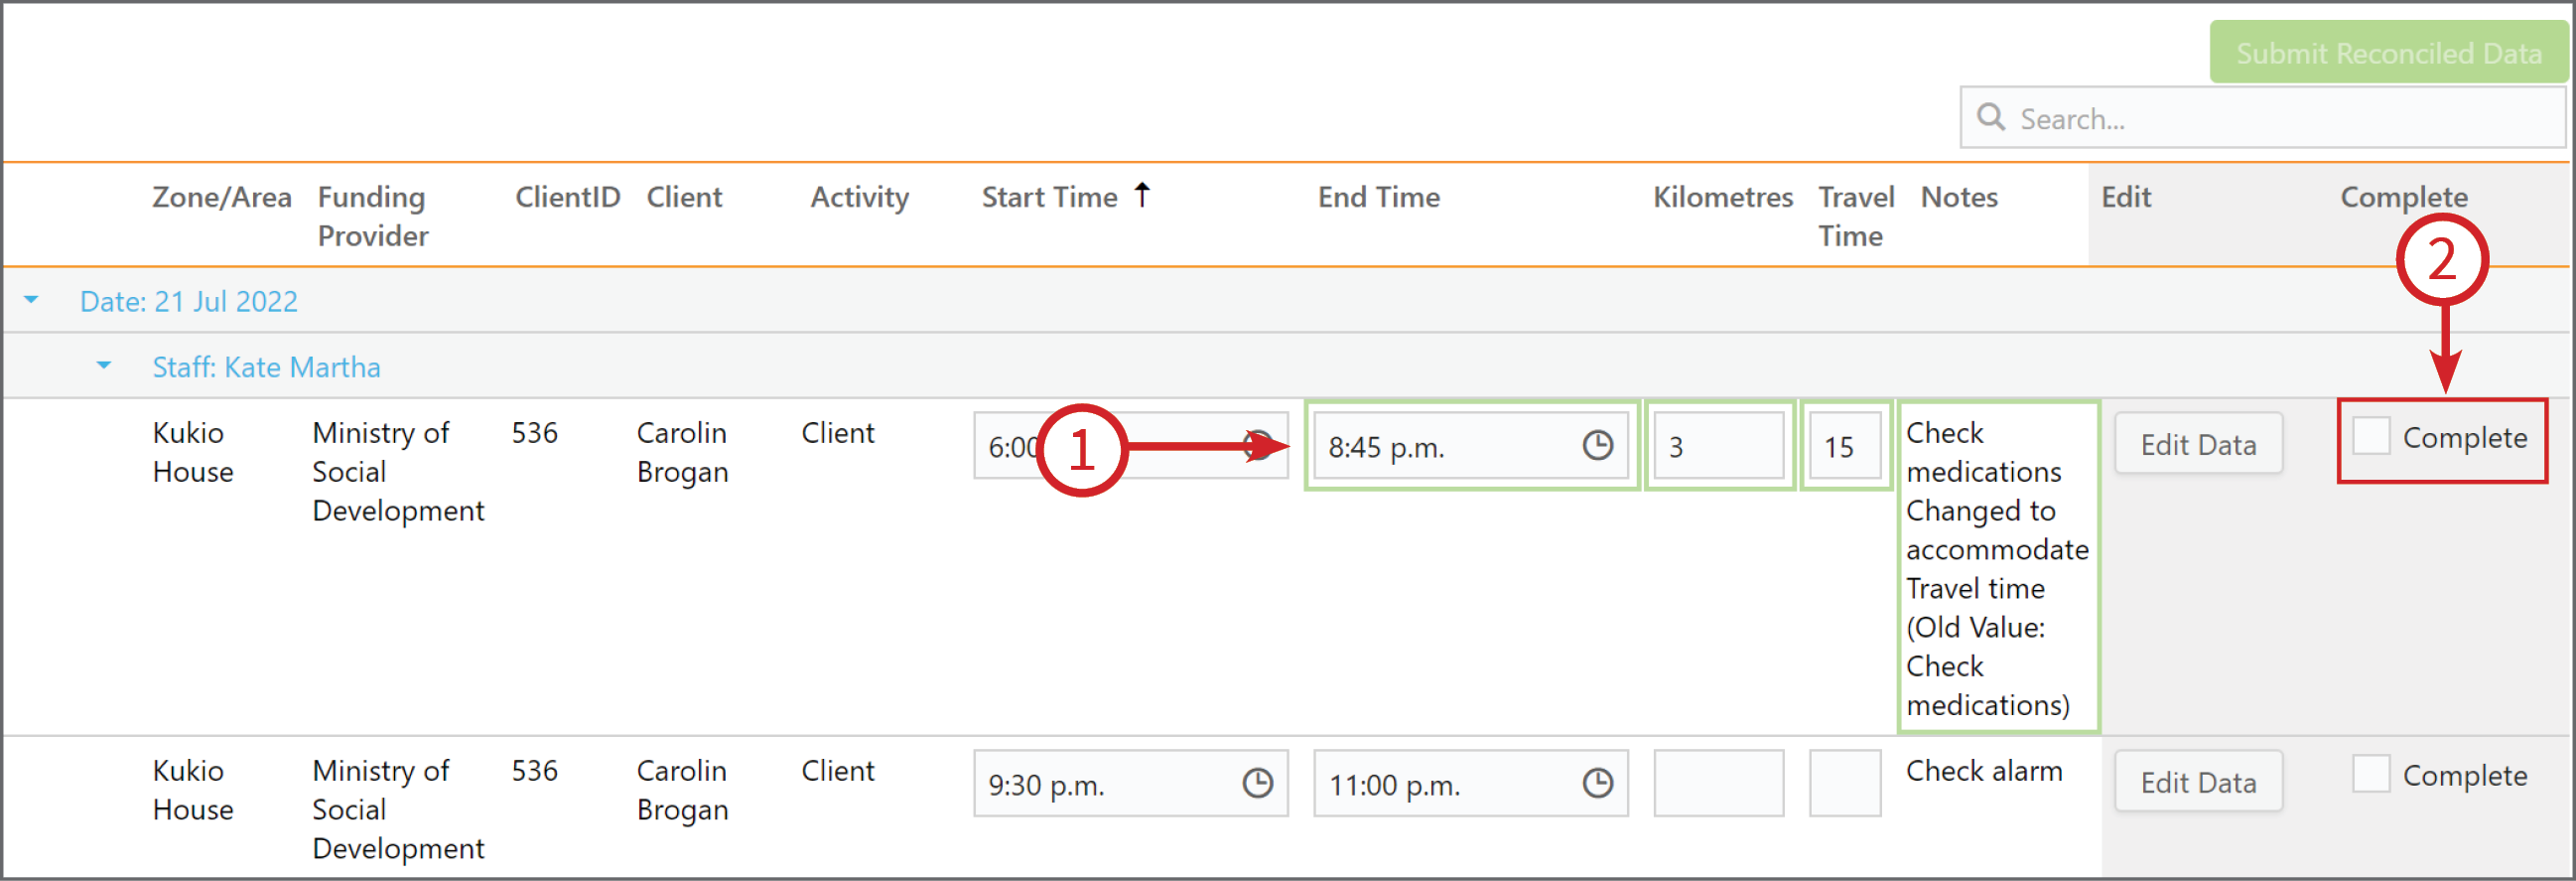
The edited information will now be in a green boarder (1) and will show the new and old data. Once you have checked the changes are correct, click the Complete (2) box.
If a shift is correct and doesn't require changes click the Complete (2) box.
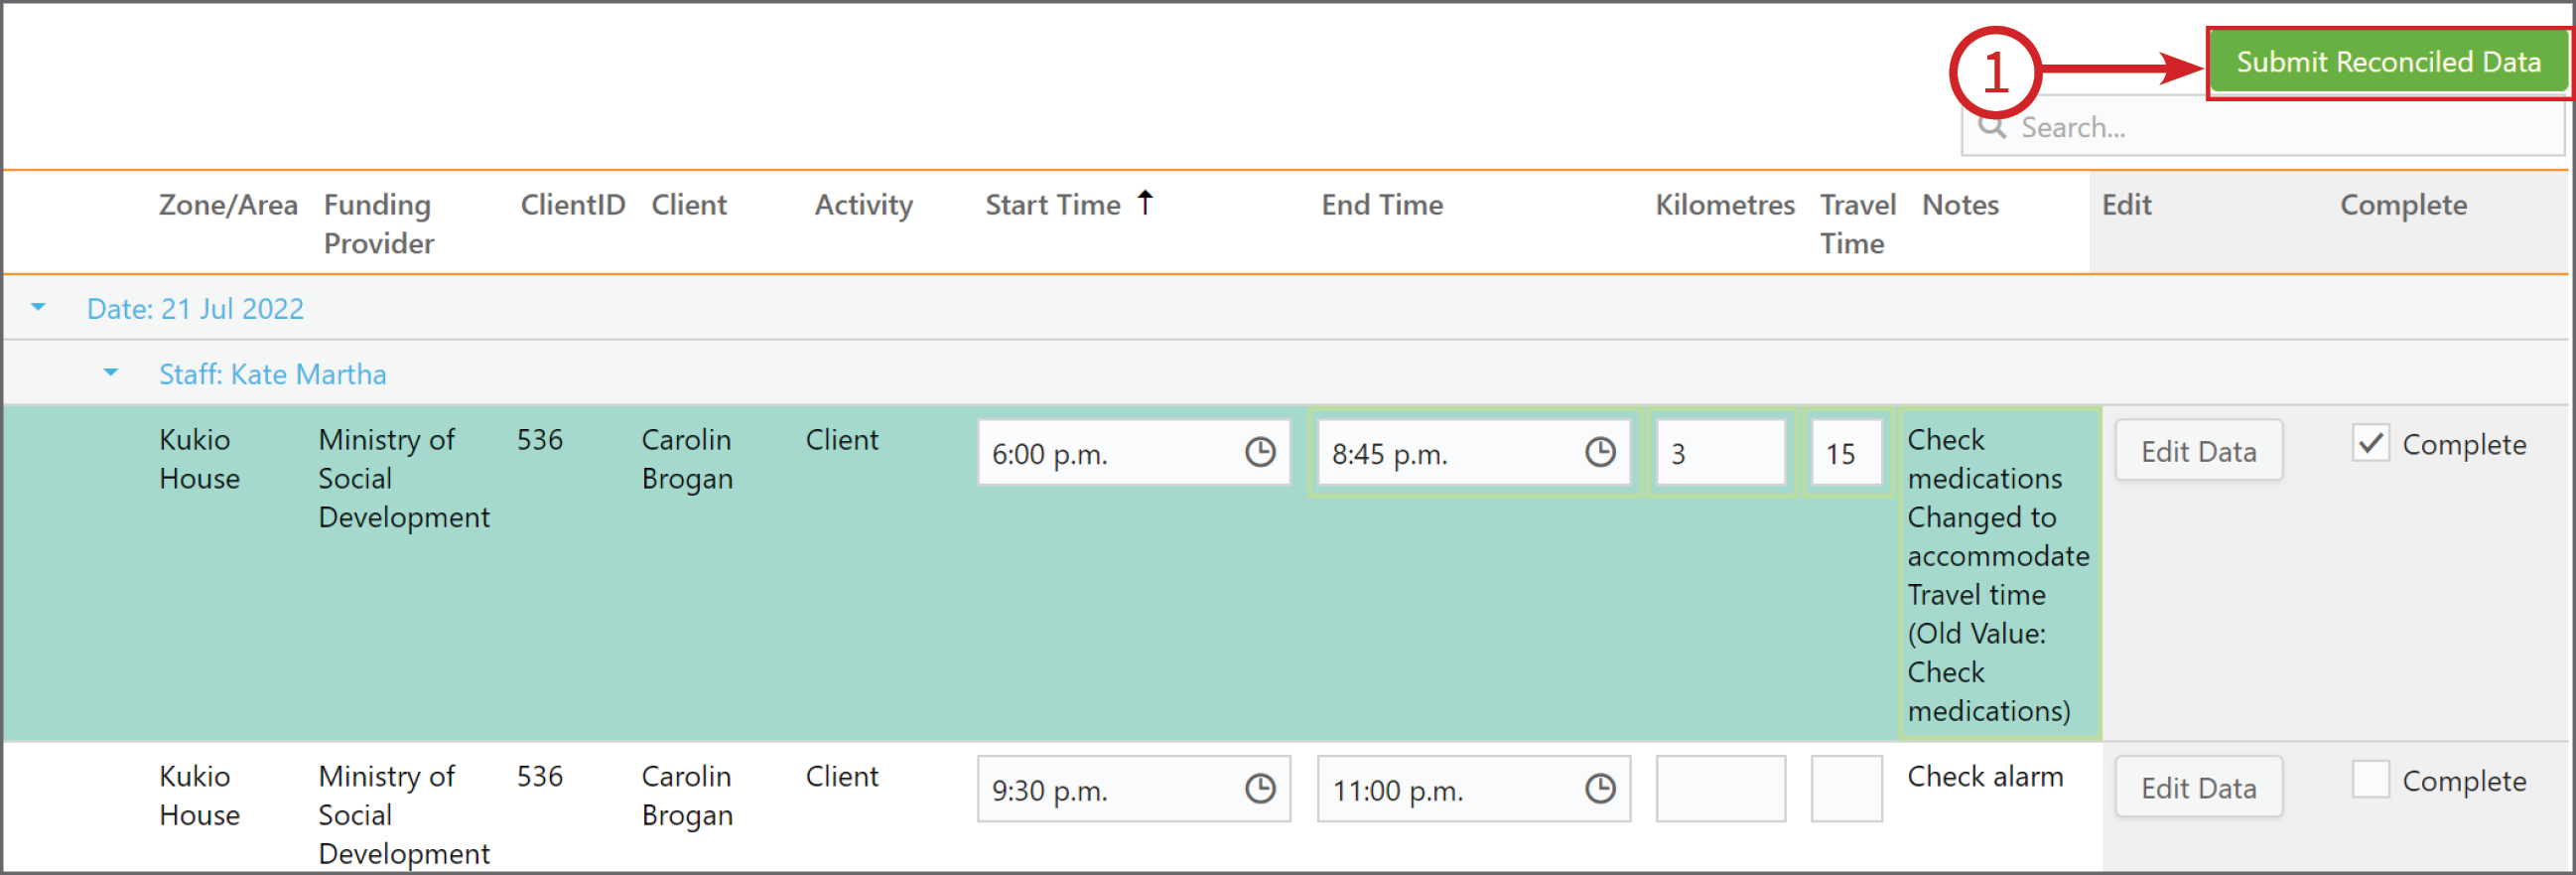
Once you have clicked complete the information will be highlighted in green.
Now check all that the information is correct and click Complete on each shift and click Submit Reconciled Data (1)
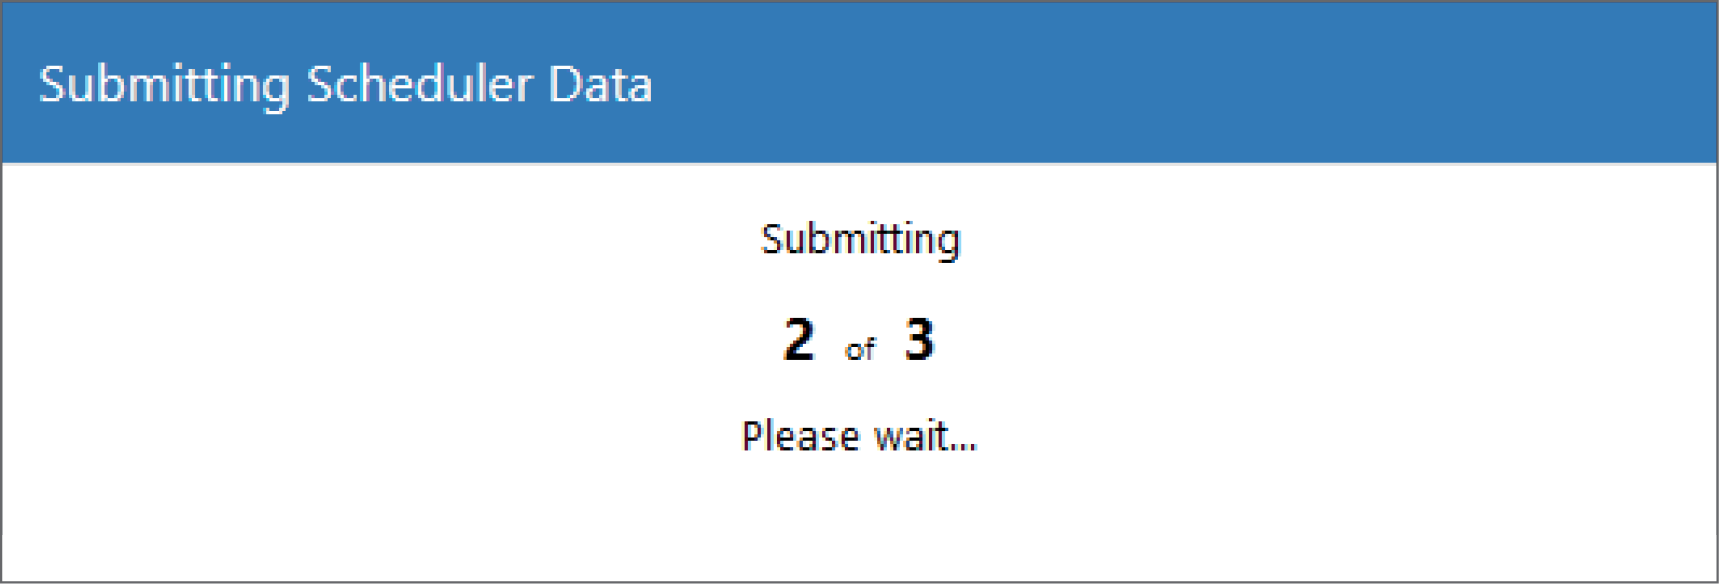
Once you have submitted the data you will get a dialogue box showing all of the data being submitted.
Once submitted, the Scheduler Reconciliation Summary at the top of the screen, will display a summary of all of the reconciled shifts.